

How To Draw With Adobe Flash
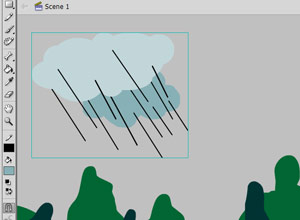
Use Flash Drawing tools to draw a nice landscape (or cityscape) backdrop for your scene. Make it colorful and interesting.
Use multiple layers: sky, ground, buildings, trees, etc....
Save your file. You are going to use it for the next assignment!
A good order of drawing a backdrop for your future animation is:
- start with a paper sketch to know exactly the shapes and objects that you need to draw.
- mentally (or on paper) divide them into "layers" - background, mid-ground, foreground
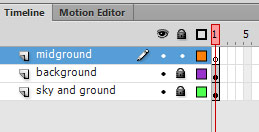
- start in Flash with a layer of sky / ground colors; lock the layer
- on a new layer draw the background shapes; lock the layer
- on a new layer draw mid-ground objects; lock the layer
- on a new layer draw the foreground items; lock the layer
- Save the file.
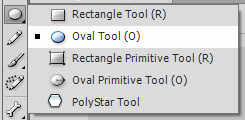
Shape tools
Shape tools draw shapes. Dahhhh...
Hold Shift to draw perfect square or circle.
Hold Alt (or Option) to draw from center out.
You automatically get the stroke properties for the shape outline and fill properties for the fill.
Practice drawing shapes.
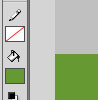
Set a fill color for your first shape.
Set stroke color to none.
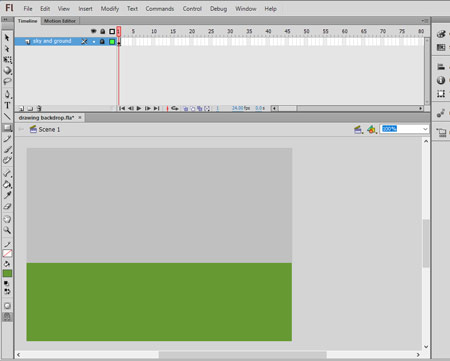
Draw sky and ground rectangles on Layer 1.
Switch colors before you start drawing the second rectangle, otherwise they will merge.
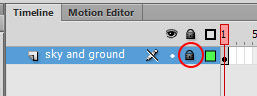
Rename the layer.
Then lock it.
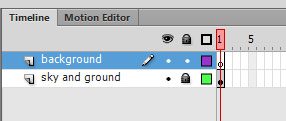
Create a new layer for your background graphics.
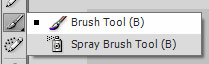
Brush tool
Brush tool draws (paints) with fill properties.
Even if you draw a very thin line with the Brush tool - it will still be a "very thin" shape, not line.
![]()
Pick a color for your background objects.
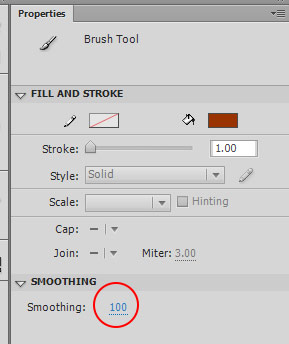
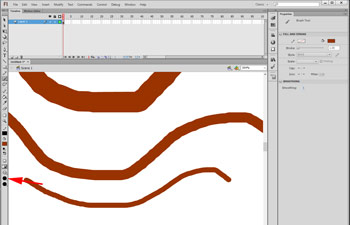
You can change smoothing setting in the Properties panel. It goes between 0 and 100. Below are the two brush strokes with both settings.
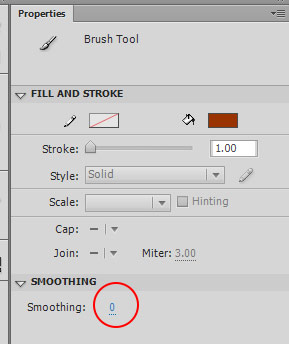
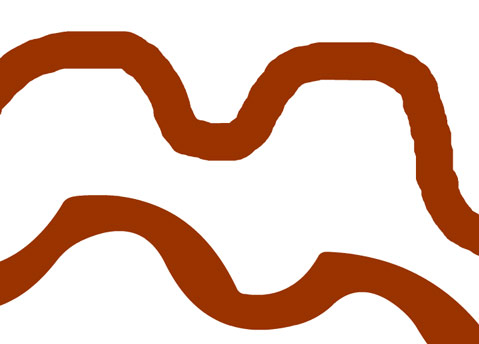
The top stroke has smoothing option set to 0. It stays exactly as you painted it.
The bottom stroke is set th smoothing 100 - it makes the outline smoother and more simple.
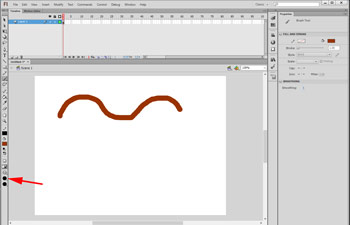
You can change the brush size in the Tools panel or using [ and ] keys. The brush size is limited though.
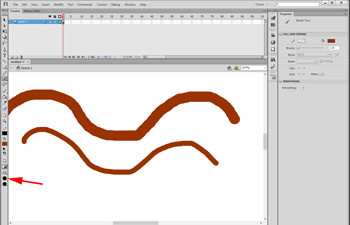
You can also control the brush stroke size by.... believe it or not.... zooming in and out.
Below are three screenshot with brush stroke set to the same size, but applied at different zoom view.
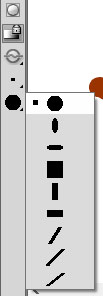
You can also change the shape of your brush in the Tools panel.

You can draw large shapes by using Brush tool.
![]()

To draw straight lines - hold Shift.
![]()
Use Paint Bucket tool to fill in shape outline that you drew with Brush tool.
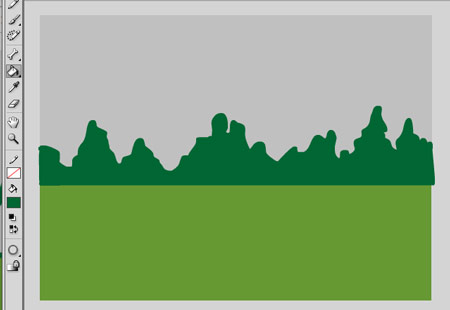
Just click inside the shape outline.
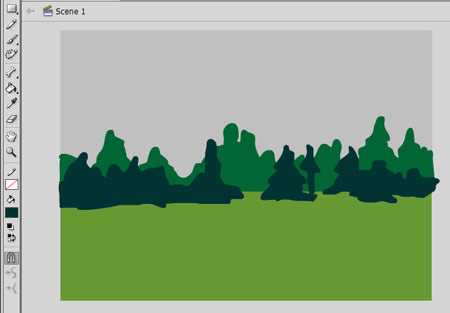
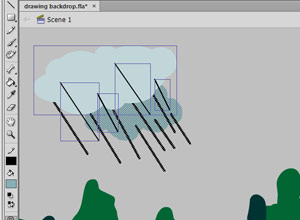
Be aware when you add other graphics above your initial background that the new shapes will replace shapes behind them if they are on the same layer.
To avoid that - you have three options:
1. Use an extra layer.
2. Draw you shapes as "drawing objects". Object can hold only shapes.
3. Select shape and group it (Modify > Group). Groups can hold multiple shapes, lines, groups, and symbols.
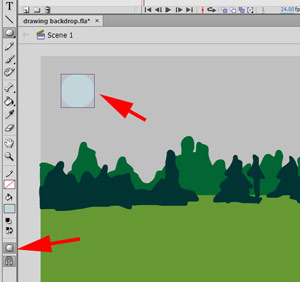
Object
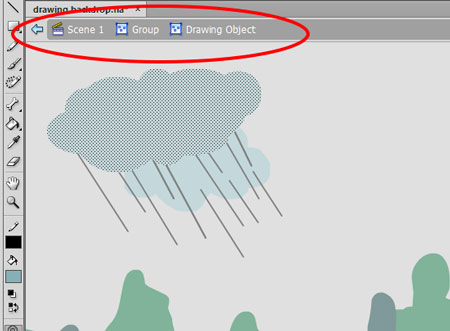
If you select Object option in the Tools panel before you start drawing, your shape will become a Drawing Object. Objects can be easily moved, resized, overlap and be overlapped on the same layer.
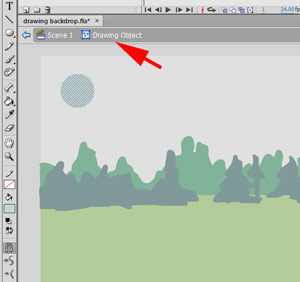
To edit or add to a drawing object - double-click on it and you will see it open in its own editing mode. You can tell that you are in the editing mode by looking at the scene bar.
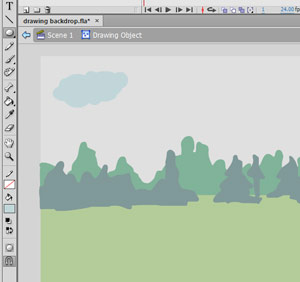
You can add to the shape: lines, more shapes, change colors, erase, etc.
The only thing you cannot do is to add another drawing object inside a drawing object.
That's why before adding shapes inside the drawing object unselect Object option in the tools panel.
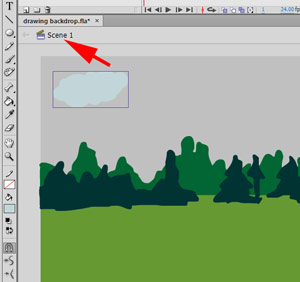
To go back to the main scene - click on Scene 1.
To convert a Drawing object back into a simple shape: Modify > Break Apart
groups
Groups can hold multiple shapes, drawing objects, and other groups and symbols.
Groups have light blue outline around them.
Double-click on a group and you will get into group editing mode.
If you need to edit another group or object inside the group - double-click again.
Now that you know everything - continue adding details.
try other drawing tools
![]()
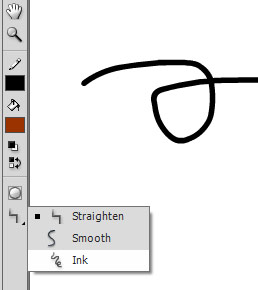
Pencil tool
It's a freehand stroke-drawing tool. It draws with a stroke properties.
Experiment with properties.
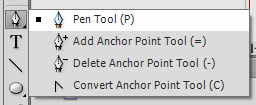
Pen tool
It works exactly as in Photoshop and Illustrator.
You click to create anchor points with straight path segments in between. You click and drag to create curves.
Pen tool draws with a stroke. There is no fill. The lines take the properties of the preset stroke: color, thickness, style, etc.
If you close your path - you can fill it with a color using the Paint Bucket tool.
Try drawing curves and lines with the Pen.
![]()
Line tool
Line tool draws lines!!!!!
Click and drag to draw straight lines. If you hold Shift - you can draw horizontal, vertical, or 45° lines.
If you start your second line close to one of the ends of the first one - the second line will snap to the first line - easy way to create polygons.
Obviously - the line tool draws with stroke properties.
Try drawing shapes and lines. Use Paint Bucket tool to fill in the closed shapes.
How To Draw With Adobe Flash
Source: https://juliannakunstler.com/acgr_drawing.html
Posted by: montanaalid1953.blogspot.com
0 Response to "How To Draw With Adobe Flash"
Post a Comment